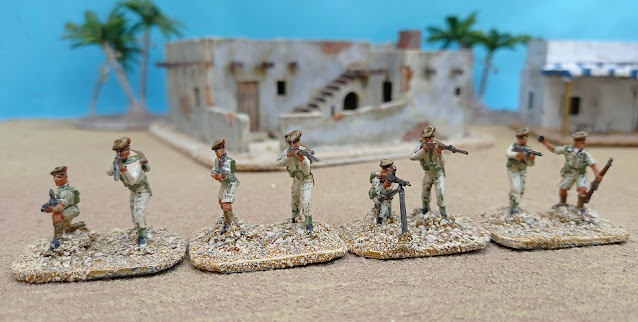
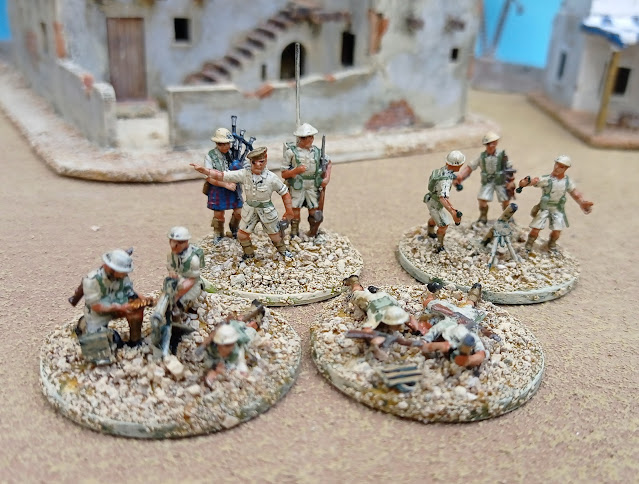
A battalion of Scottish infantry prepares to defend the small Lybian village of Ras-Al-Sturgeon on the news of the Axis advance.
For many years I wanted some Scots for the desert. Recently I read that the 4th Indian Infantry Division had several battalions of Scottish infantry fueling my interest in having a few of them. In fact you can use the normal British outfit as most of the Commonwealth and that includes the steel helmet for Scots, Australians, Indians and others. But, by using plenty of figures with the Tam o' shanter as headdress, you have the Scottish soldiers clearly identified (the kilt saw almost no use). I´m using the same principle for Indian, Australian and others as all these are cheap plastic that I have in plenty for many years.
Using both the Revell and Matchbox boxes you can get a total of six poses with the Tam o' shanter, clearly identifying Scottish infantry. The Revell figures are much taller than the Matchbox figures (1/72 and 1/76 respectively) but by using a glue gun you can place the 1/76 figures about the same size as the 1/72.
With this small number of Scottish figures its better to place a few heads on some Esci bodies for more Scottish variety.
In the command and weapons support bases I used more generic British equipment and only two figures in the command stand are true Scots. Like this most of these stands can be used for other Commonwealth units.
Again you can see several conversions (radioman and Co; MMG and 2'' mortar groups) from many brands as Airfix, Matchbox, Revell and Esci.
Next: WW2 Australians for the desert.


Excellent work as always JP:).
ReplyDeleteThanks Steve, all the best.
DeleteGreat post – I love your blog! What glue do you use for head swaps on soft plastic figures?
ReplyDeleteThanks Alistair. The glue I have at the moment is from Pattex (for soft plastics) but there are other good brands. There is an activator (kind of thick pen) you pass in one part and, after around 1 minute, your use a drop of glue on the other part and unite both parts. It works very well and after varnishing I never had a head off and I made hundreds of them like this. In the past I would use a piece of a pin to unite the parts but in this case you can't use super glue as somehow the glue reacts on the metal and breaks the plastic. If you want to use a pin, use a bit of thick varnish around the two plastic parts. Hope it helps.
DeleteThanks, João, really helpful :) Is this the glue you mean? https://www.pattex-adhesives.com.au/en/products/super-glues/superglues-plastics.html
DeleteExactly. Make the cut at the neck in an oblique way. It makes a bigger surface for the glue.
DeleteGreat, thanks :)
Delete